We had a DIY family photo shoot the other day. The weather was chilly but gorgeous. We set up our camera on the tri-pod, set the timer and snapped away. It was tough to get going and get everyone in place, but once the kids knew that a bag of timbits was up for grabs, they were very cooperative in showing their pearly whites to the camera.
We have hired photographers before, but always find it fun to take our own pictures too. Even if you snap 30, you are bound to get 2 or 3 good ones. I knew that even if we didn’t get any, we would have a lot of good laughs together.
We dressed in our new Gap clothes for these fall selfies:
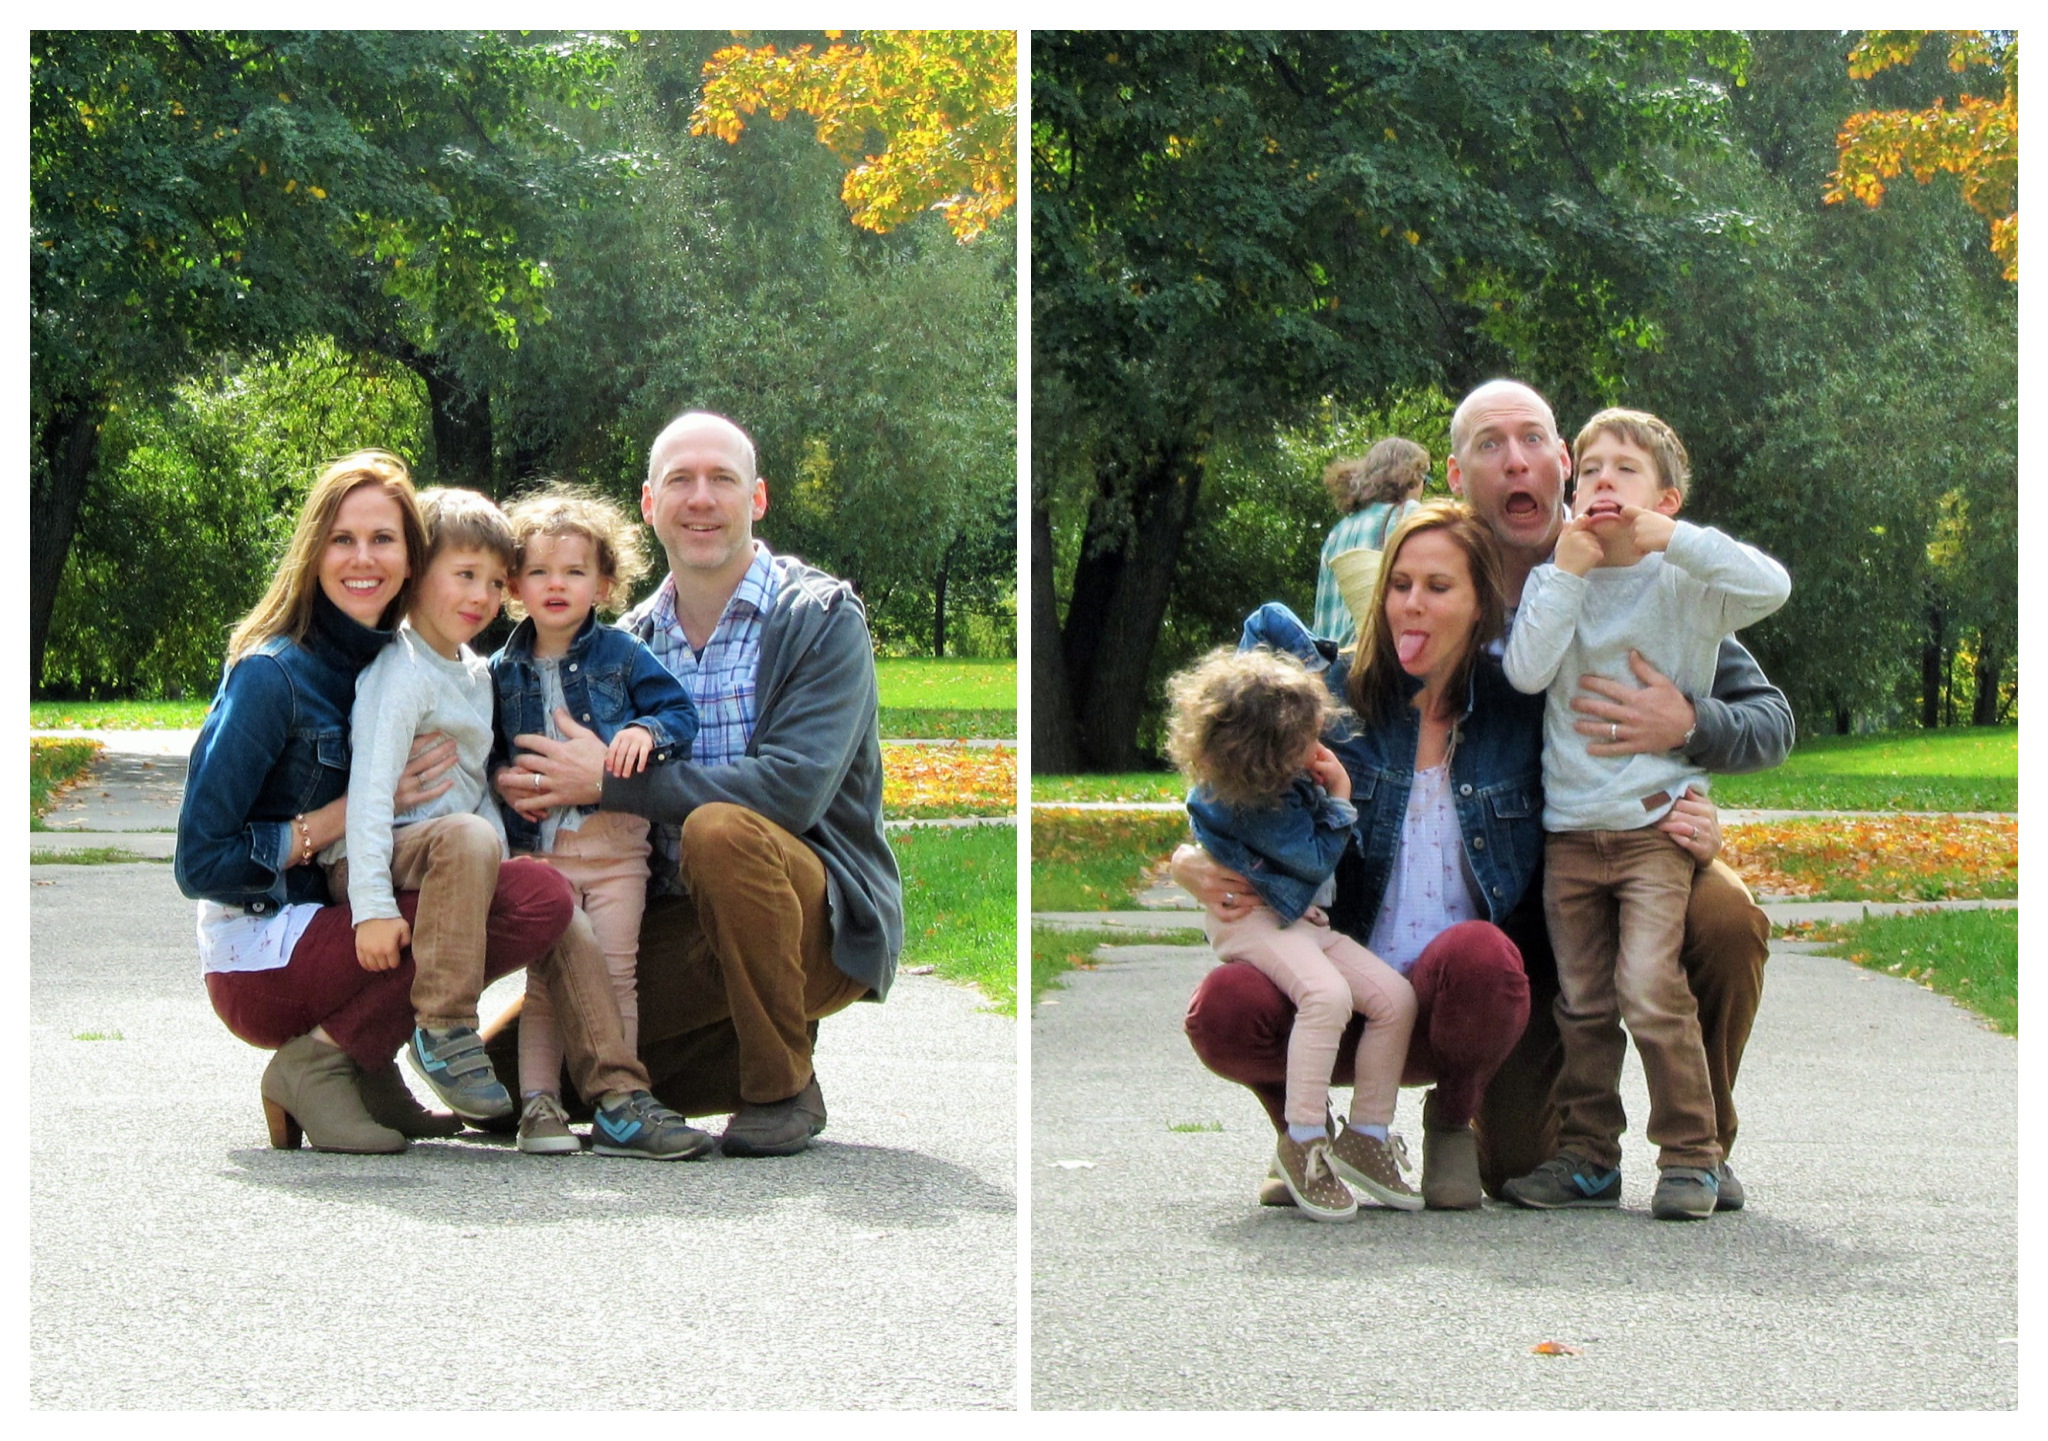
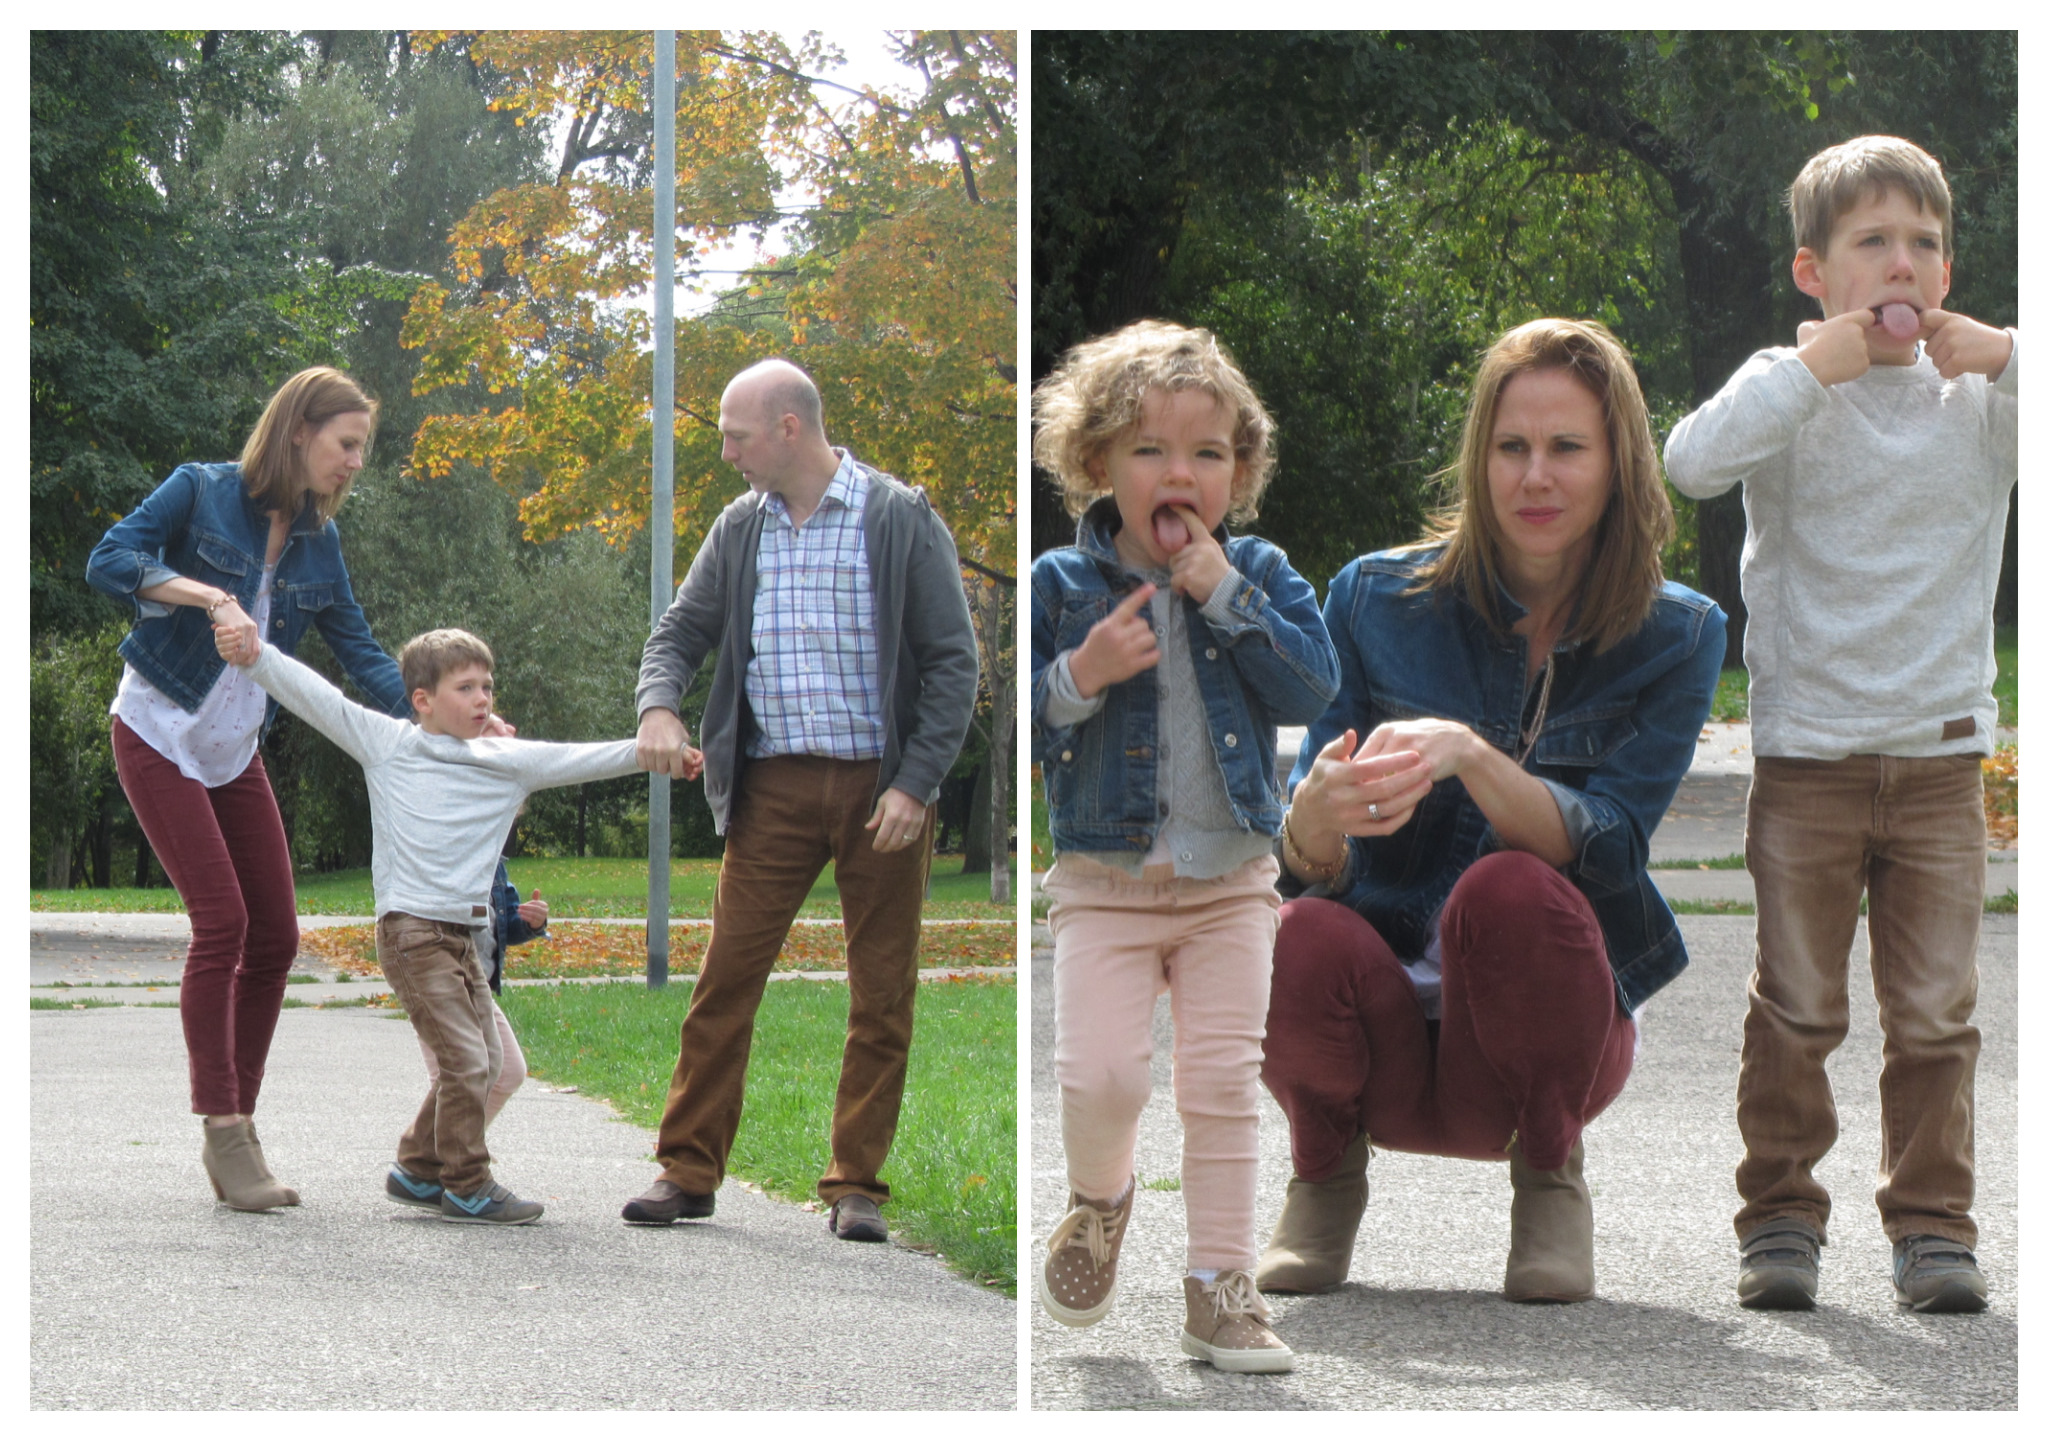
Not always easy to get 4 people into position, especially when one must, absolutely stand beside mom
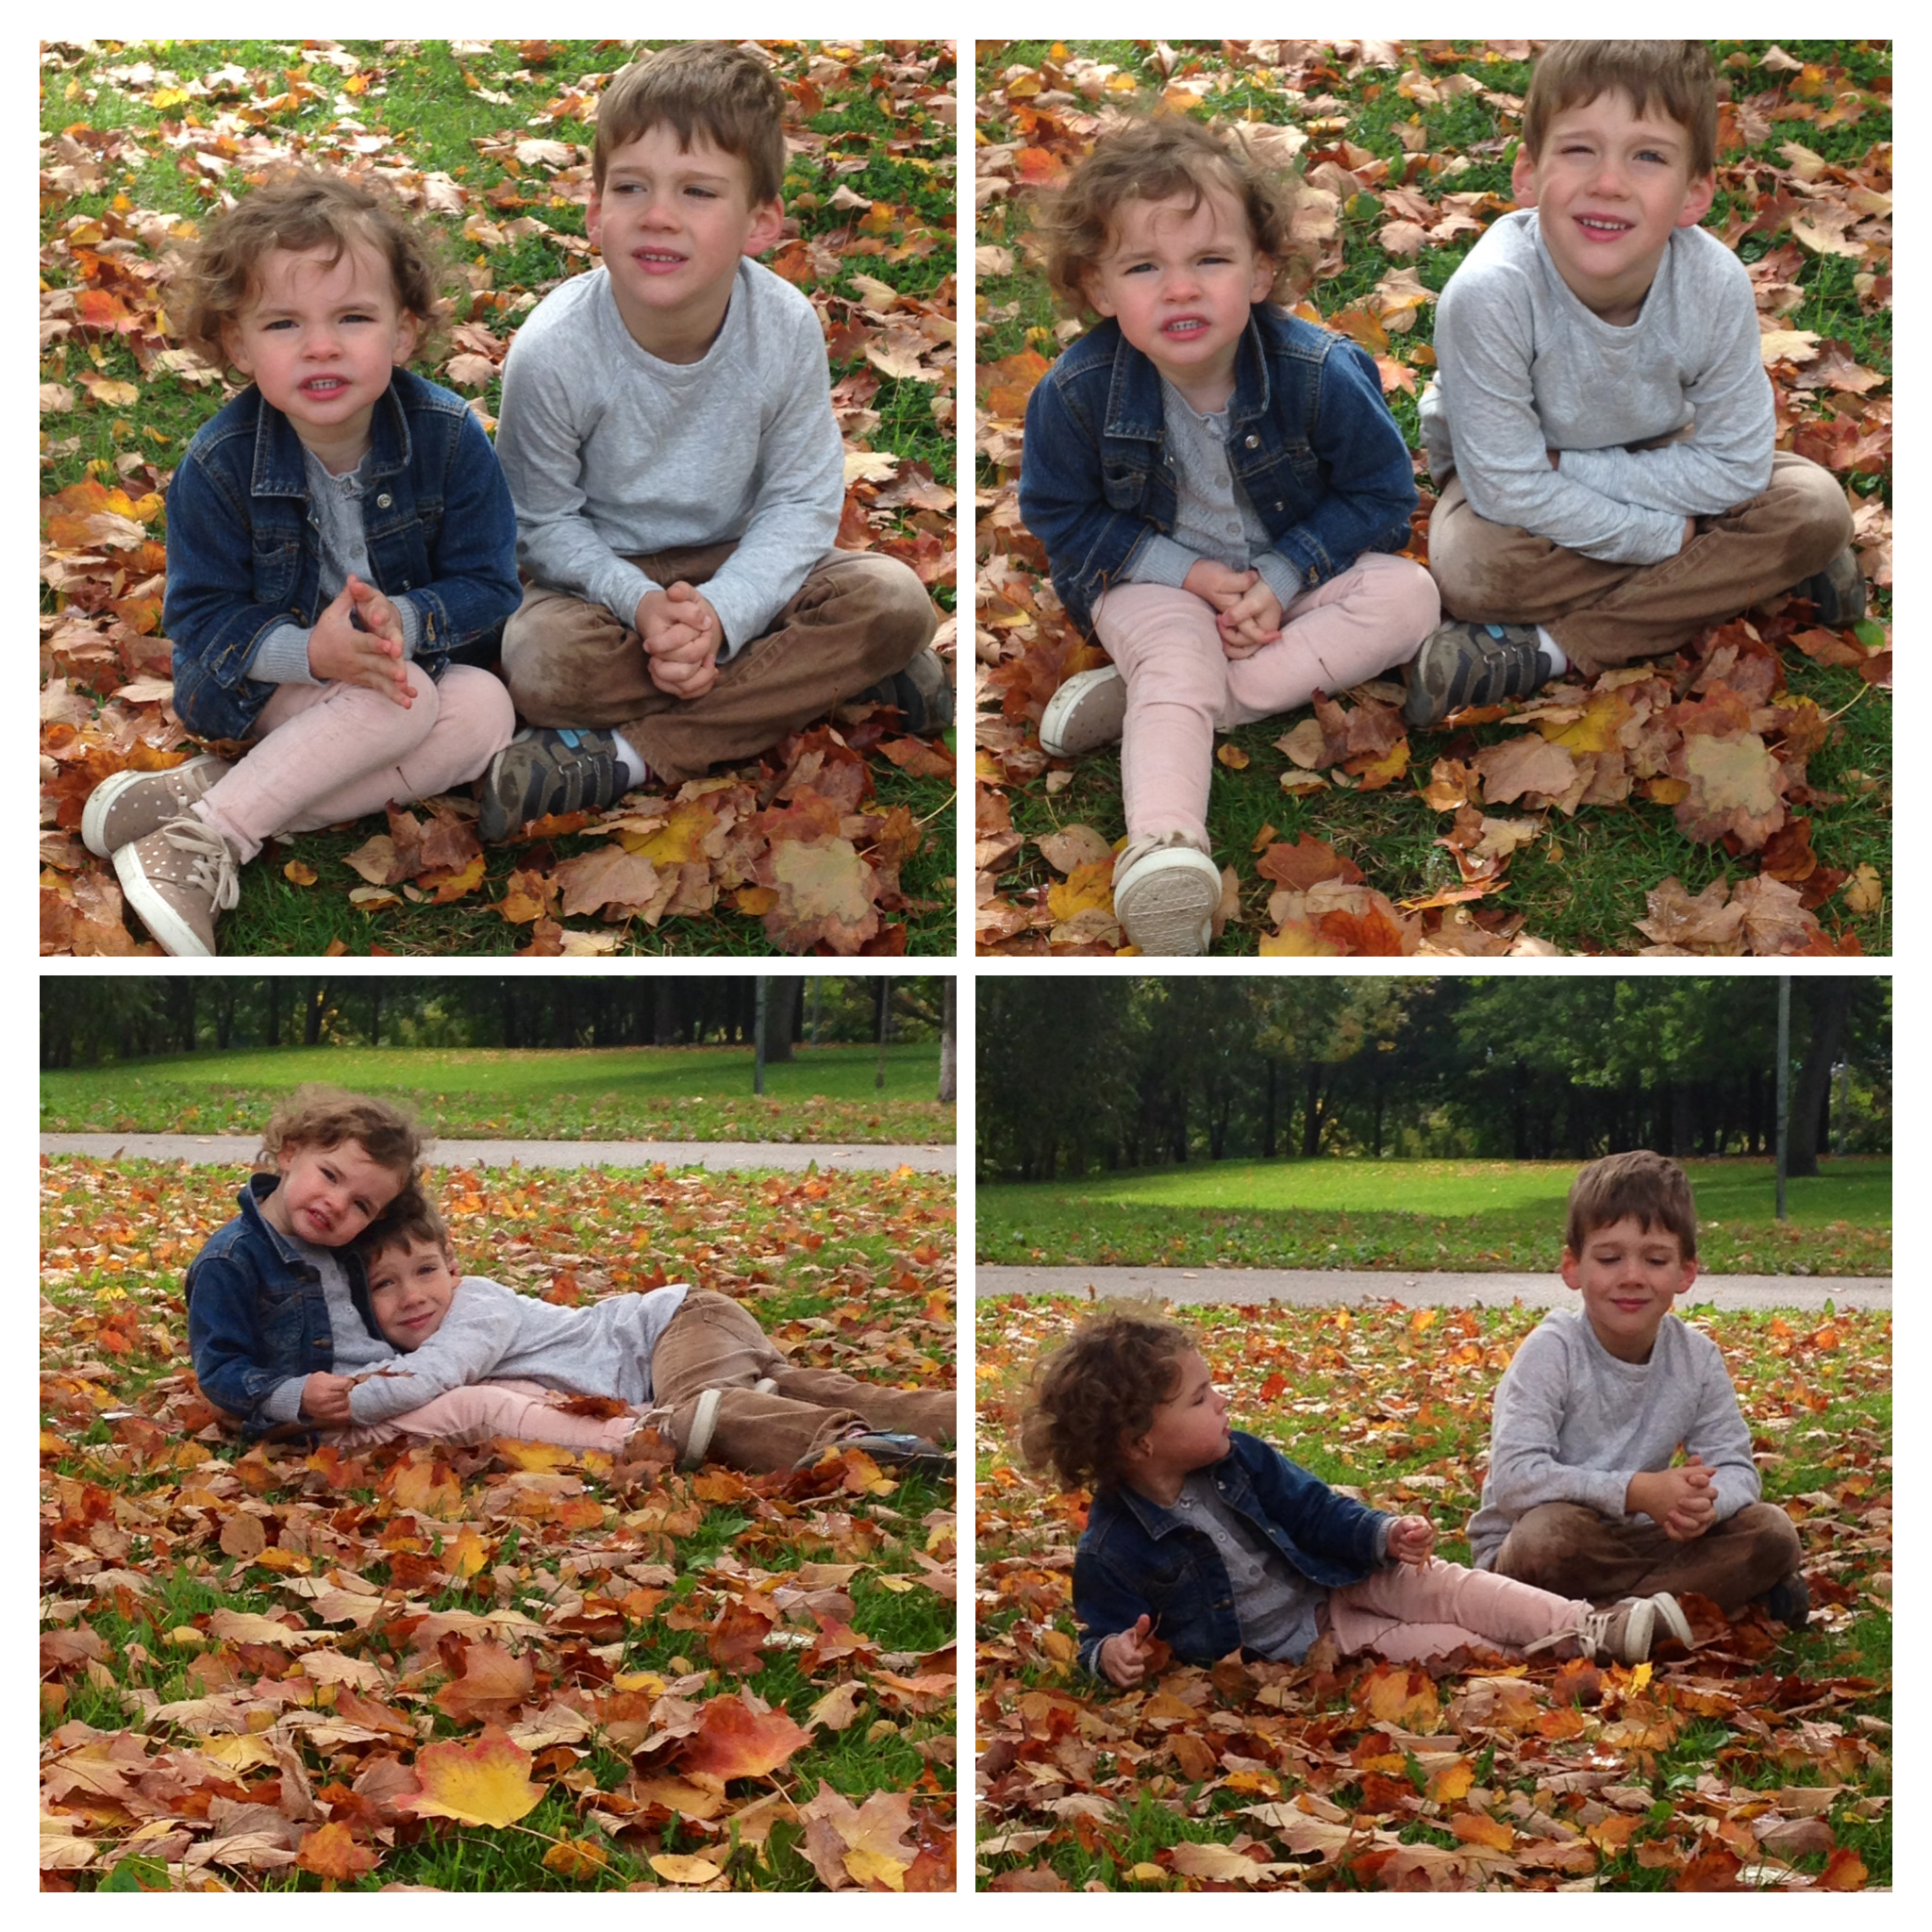
Fun in the leaves!
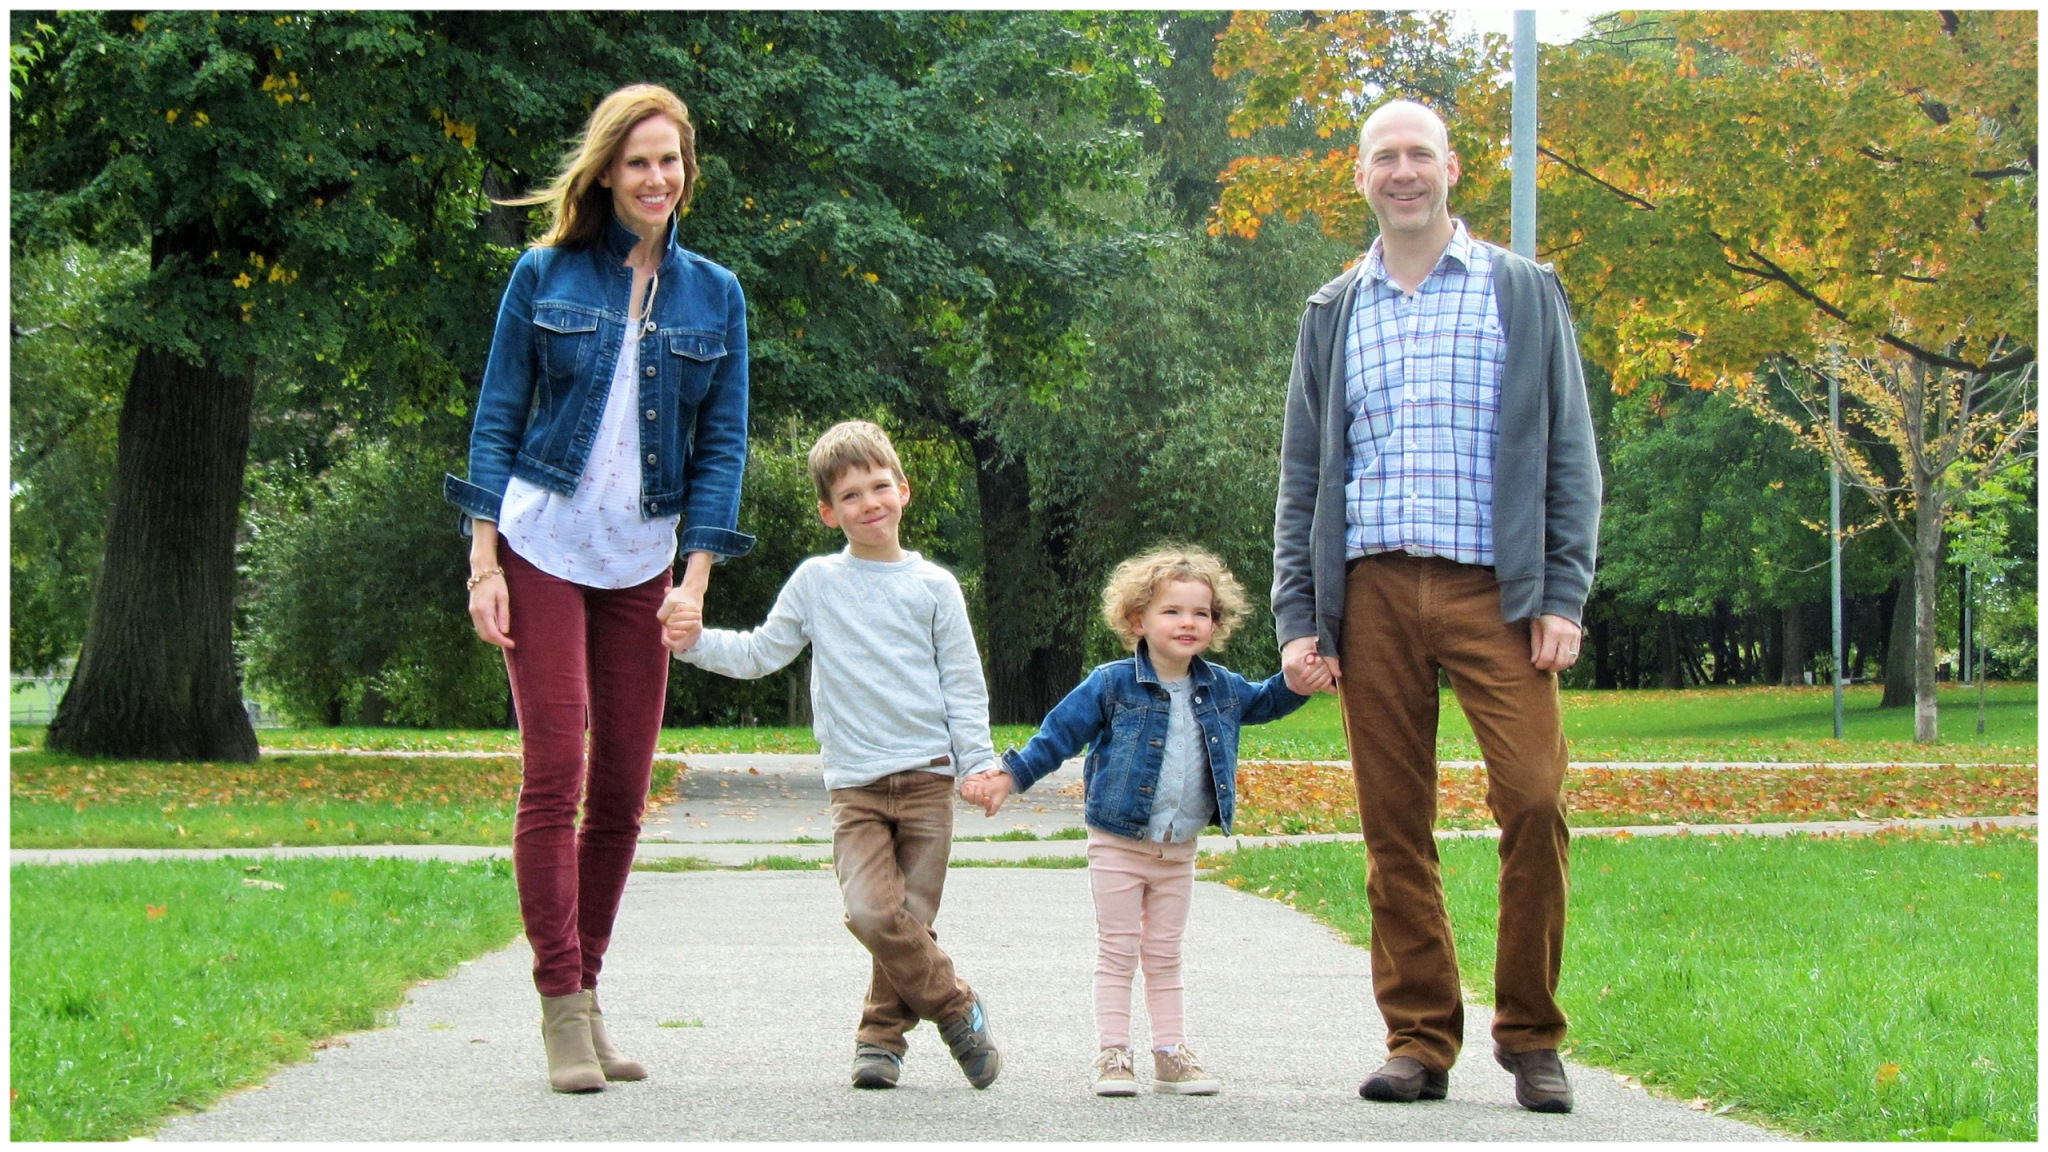
And we got one!
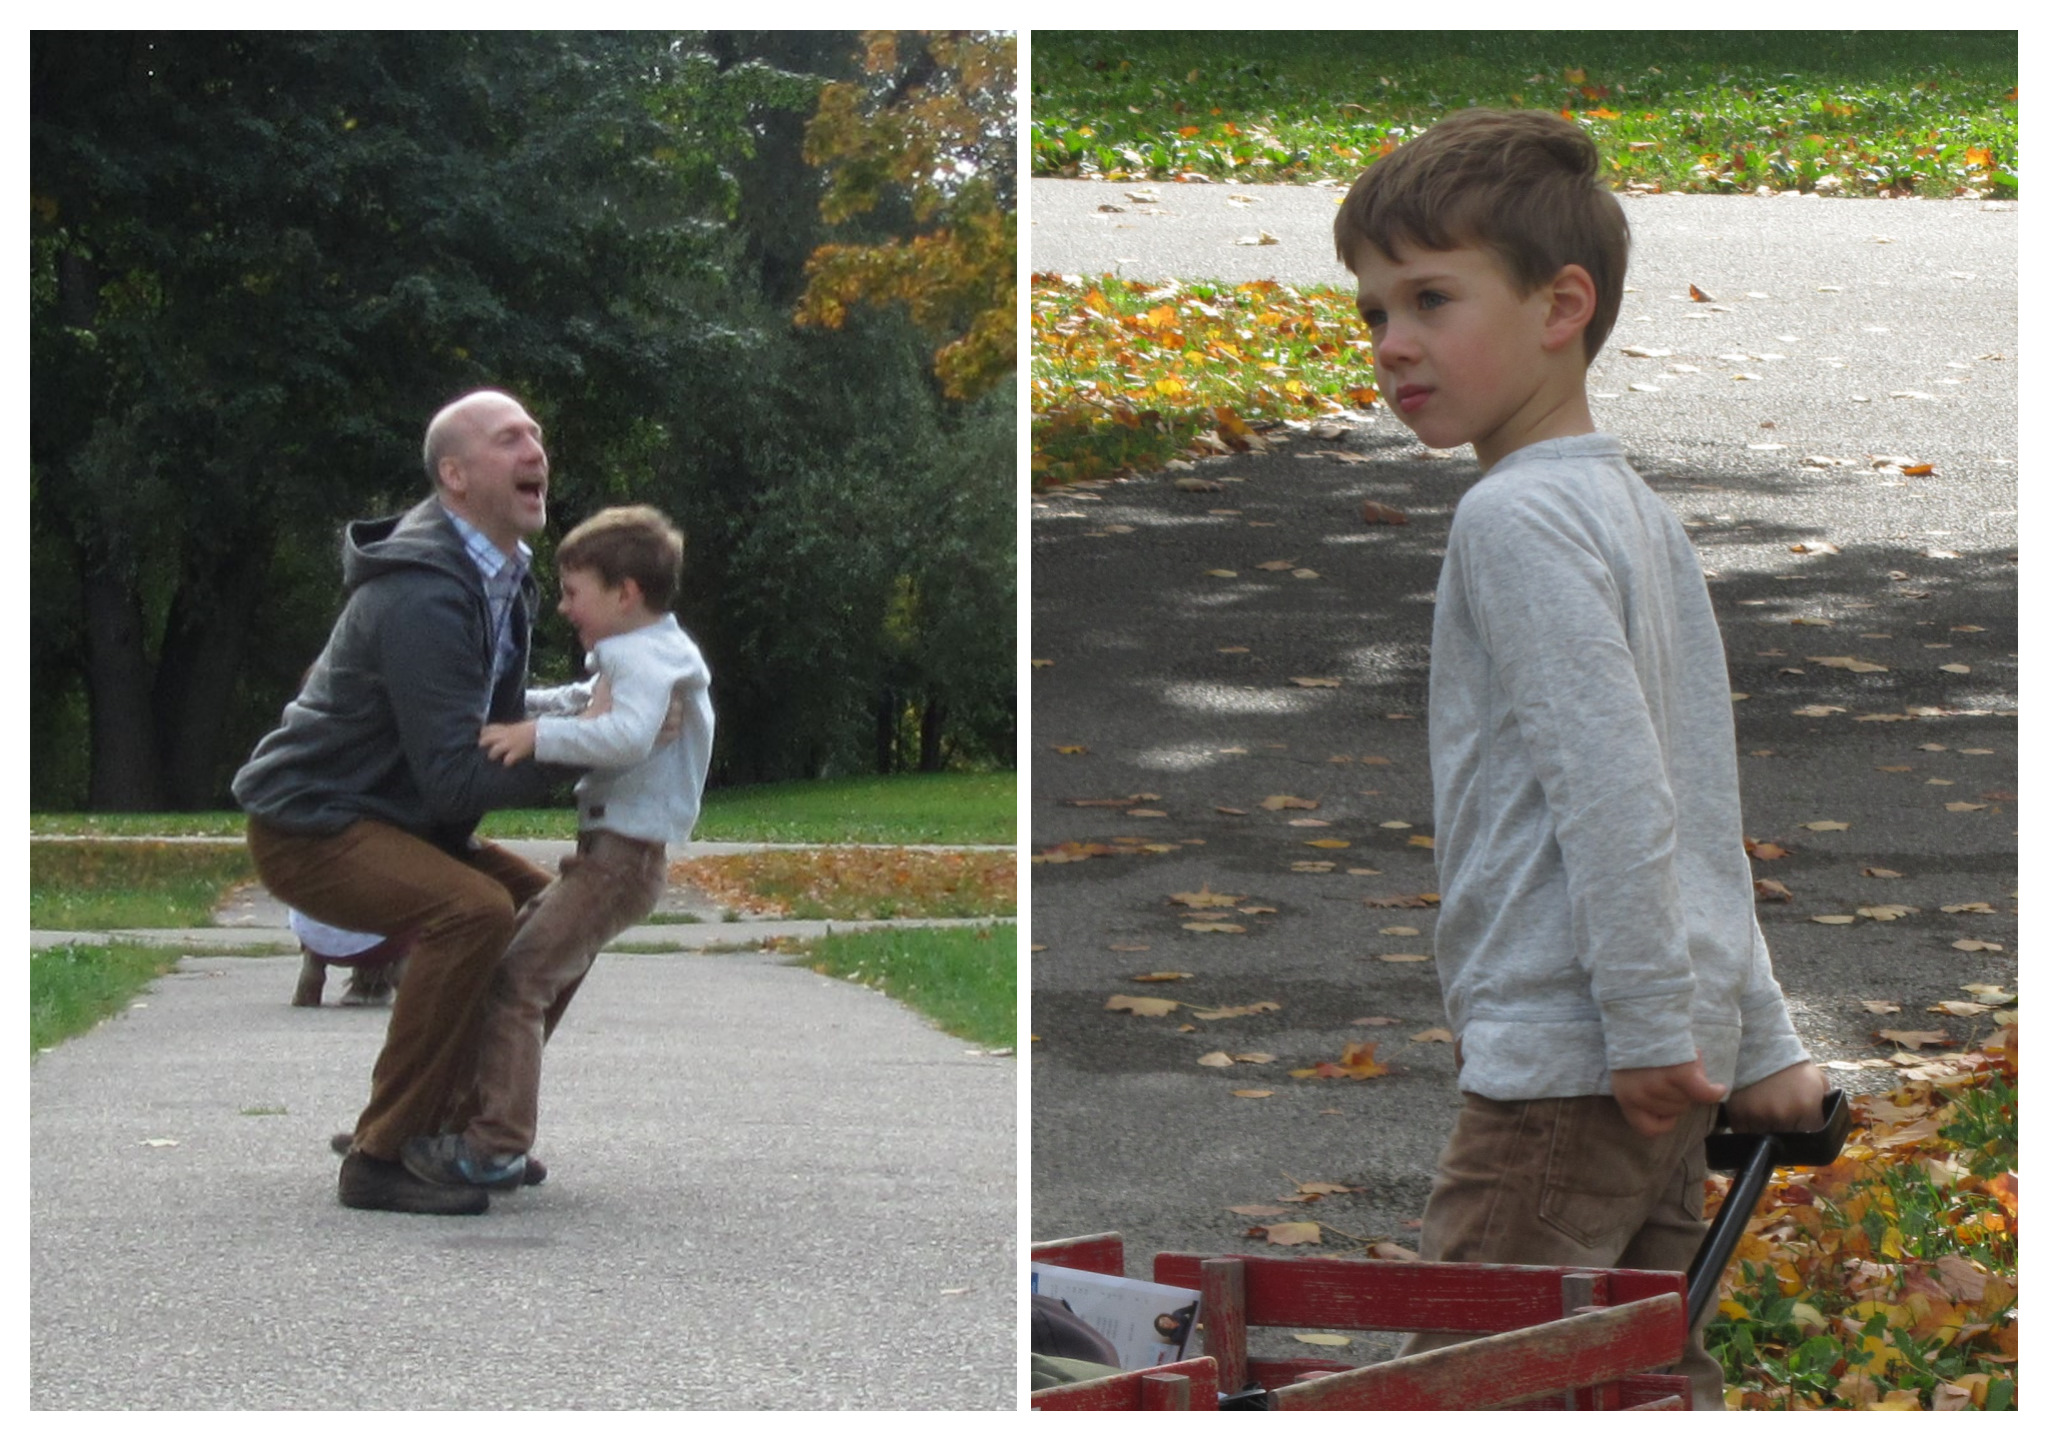
Boys
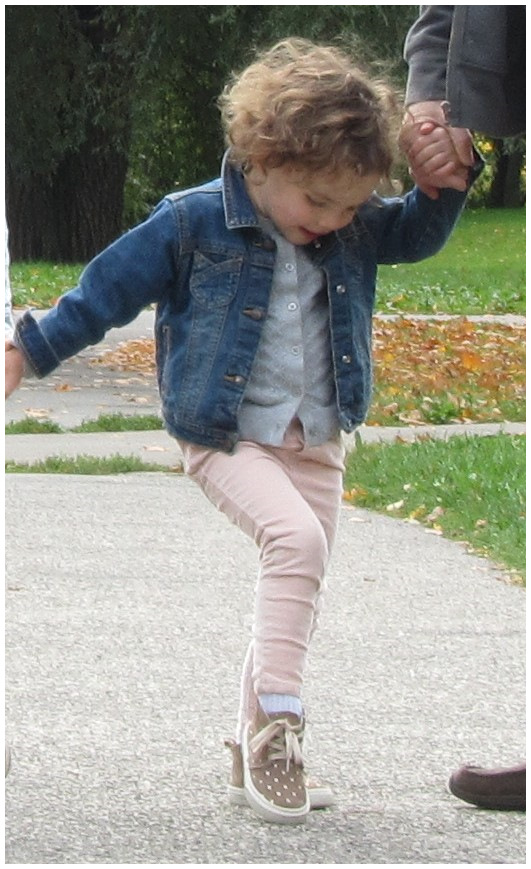
And the girl who just does her own thing. These gorgeous little polka dot runners from the Gap lasted about 30 minutes before she stepped in dog poop. Those are the kinds of things that happen when you’re two 🙂
I am loving the fall styles at Gap right now. The Bloor Street store is fantastic! A couple of weeks ago they had a pop up sale with 40% your entire purchase. I love me a good sale!
What we’re wearing:
me: Gap denim jacket*, Gap always skinny cords, pink flamingo tank from Smart Set, boots from the Bay
hubby: Gap cords, Gap hoodie and Gap shirt
son: Gap straight jeans and Gap cream long sleeve shirt
daughter: Gap legging cord and shoes, Target cardigan, Levi’s denim jacket
*I have had this since I was a teenager – for almost 2 decades. I think it has held up pretty well and I love the way that it still looks. So classic – everyone should own one of these!


